How to Generate Images from an AI Agent with MCP
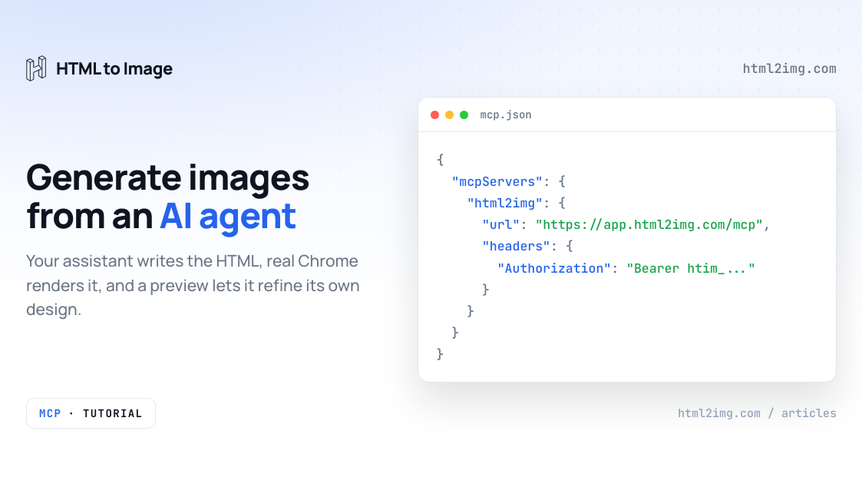
Ask your AI assistant to "make an OG image for this post" and you get one of two failures. If it reaches for a diffusion model you get soft gradients, warped typography and a title that reads like it was photographed through water. If it does not, it writes you a lovely block of HTML and CSS and then apologises, because it has nowhere to render it.
The second failure is the interesting one. The model did the design work. Layout, spacing, type scale, brand colour: all of it expressed precisely, in the one design language every LLM has read millions of examples of. What it lacked was not ability. It was a render step.
That is exactly what the HTML to Image MCP server adds. Your agent writes the HTML, the server renders it in real Chrome, and the result comes back into the conversation as a URL plus a preview the model can actually look at. The agent becomes a designer with eyes.
Why agents fail at images
Diffusion models are the wrong tool for layout work, and it is not close. They cannot reliably render text, they cannot hit exact pixel dimensions, they cannot reuse your brand tokens, and they cannot produce the same output twice. For photographic concepts they are remarkable. For a pricing card, an invoice, a certificate or an Open Graph image, they are a lottery.
HTML and CSS are the opposite. Deterministic, pixel-exact, versionable, and the single most documented visual format in the model's training data. An LLM that struggles to draw the word "Launch" in a diffusion image will happily set it in Manrope 800 at 64px with correct kerning, because that is just text.
So the split is clean: let the model design in the language it is fluent in, and give it a renderer for the last step.
Two tools, one endpoint
The MCP server exposes two tools. generate-image-from-html takes complete HTML and CSS and returns a PNG or PDF. screenshot-url captures a live public web page, with optional injected CSS and an element selector. Both render in the same Chrome engine as the REST API, both cost one credit per image, and both accept the parameters you already know: width, height, fullpage, dpi, ms_delay, wait_for_selector.
The part that makes the whole thing work is the return value. On success the model receives the full-resolution CDN URL and a downscaled preview image. The preview is the point. The model sees what it made.
Connecting a client
The server lives at https://app.html2img.com/mcp, speaks Streamable HTTP, and authenticates with your API key as a bearer token. It is available on paid plans, and keys come from the API keys page in the app.
Claude Code is one line:
claude mcp add --transport http html2img https://app.html2img.com/mcp \
  --header "Authorization: Bearer YOUR_API_KEY"
Cursor takes the same server in ~/.cursor/mcp.json (or .cursor/mcp.json per project):
{
  "mcpServers": {
    "html2img": {
      "url": "https://app.html2img.com/mcp",
      "headers": { "Authorization": "Bearer YOUR_API_KEY" }
    }
  }
}
VS Code with Copilot uses .vscode/mcp.json with a servers key and "type": "http". Windsurf, Google Antigravity, Gemini CLI and the OpenAI Codex CLI all connect natively too, and Claude Desktop works through the mcp-remote bridge. The install and setup guide has the exact config for each, and signed-in users get a ready-to-paste version at app.html2img.com/mcp-setup.
The first render
With the server connected, image generation is just conversation. Here is a real exchange, condensed:
> Make me a 1200x630 launch card for "Relay 2.0". Dark background, big title, a one-line subtitle that says "Webhooks that retry themselves", and our accent green #10B981.
The agent writes something like this and calls generate-image-from-html with it:
<!doctype html>
<html>
<head>
<style>
  @import url('https://fonts.googleapis.com/css2?family=Inter:wght@500;800&display=swap');
  body {
    width: 1200px; height: 630px; margin: 0;
    display: flex; flex-direction: column; justify-content: center;
    padding: 80px; box-sizing: border-box;
    background: #0B1220; font-family: 'Inter', sans-serif;
  }
  .pill {
    color: #10B981; font-weight: 500; font-size: 22px;
    letter-spacing: 0.14em; text-transform: uppercase;
  }
  h1 { color: #fff; font-size: 96px; font-weight: 800;
       letter-spacing: -0.02em; margin: 18px 0 24px; }
  p  { color: #94A3B8; font-size: 30px; margin: 0; }
</style>
</head>
<body>
  <span class="pill">Now shipping</span>
  <h1>Relay 2.0</h1>
  <p>Webhooks that retry themselves.</p>
</body>
</html>
Two seconds later the rendered card is in the chat, along with its permanent i.html2img.com URL. No Chromium install, no Puppeteer script, no context switch to a design tool.
The loop is the feature
The first render is rarely the last, and that is where this beats every fire-and-forget approach. Because the tool returns a preview image, the model reviews its own work the way you would: it notices the subtitle sitting too close to the title, or the pill reading grey on dark instead of green, or a long product name clipping at the right edge. Then it edits the HTML and renders again.
You can steer that loop with plain language ("tighten the spacing, the title feels lost") or just ask the agent to critique the render itself before showing you. Either way you are iterating on a design at conversation speed, and every intermediate version has a URL you can send to someone.
A note on cost, since the loop consumes it: each render is one credit, the same metering as the REST API. Three refinement passes on a card is three credits. For interactive design work that is the correct trade, because the alternative is your time.
Keep it on brand with a rules file
The highest-value trick is also the simplest. Every agent runtime has a standing-instructions file (CLAUDE.md, Cursor rules, Copilot instructions). Put your visual system in it once:
When generating images with the html2img MCP server:
- Canvas 1200x630 for OG images, 1080x1080 for Instagram
- Fonts: Inter for UI, weights 500 and 800 only
- Background #0B1220, text #FFFFFF, muted #94A3B8, accent #10B981
- Embed any image as a base64 data URI, never a remote URL
- Complete, self-contained HTML with styles in one <style> block
From then on every image the agent produces is on-brand without you restating anything. That last rule matters technically as well as stylistically: the renderer skips remote <img> sources by design, so assets go inline as data URIs. Google Fonts are the exception, loading server-side, which is why the @import in the example above just works.
MCP or the REST API
These are the same engine, so the question is only who does the calling.
Use MCP when a person or an agent is in the loop: designing an asset, producing a one-off, screenshotting a page mid-conversation, or letting an autonomous workflow decide for itself when an image is needed. Use the REST API when your application calls the shots: rendering an OG image per blog post at build time, an invoice per order, a certificate per completion. Pipelines want code paths, not conversations.
The two compose nicely. Design the template in a chat with your agent, iterate until the render is right, then lift the final HTML into your codebase and serve it through the API with real data. The MCP session is the design phase, the API call is production.
We run this loop ourselves. Every cover image on this blog is produced by an agent that writes the HTML, renders it through this same engine, inspects the preview and fixes what it got wrong before anything ships. The images are the proof that the workflow holds up unsupervised.
Want your assistant designing real assets instead of describing them? Browse the templates gallery for starting points or read the docs to get set up.

Written by
Mike Griffiths
Mike has spent the last 20 years crafting software solutions for all kinds of amazing businesses. He specializes in building digital products and APIs that make a real difference. As an expert in Laravel and a voting member on the PHP language, Mike helps shape the future of web development.