You have written a neat bit of code and you want to post it. Maybe it is a clever one-liner for Twitter, a worked example for a LinkedIn post or the hero image for a dev.to article. So you do one of two things, and both are bad.
You paste the code as text. The platform strips the highlighting, mangles the indentation, wraps the long lines and turns your && into a smart-quoted mess. Or you screenshot your editor. Now the image carries your personal theme, a stray notification, half a file tree and whatever odd dimensions your window happened to be. Do it twice and the two images do not match.
A code screenshot is a real asset, so it deserves to be generated like one: consistent, on brand, sharp on retina screens, sized for the platform and repeatable from a script. This article covers three ways to produce them, from a no-code tool through to a single API call you can drop into your build.
What separates a good code image from a bad one
Before the how, the what. A code screenshot that performs on social shares a few qualities.
It is readable at thumbnail size. Most people see your post in a crowded feed at a fraction of full size, so the type has to be large and the contrast high. It keeps its syntax highlighting, because colour is what tells the eye where the strings, keywords and function names are. It has consistent padding and a deliberate background instead of a flush-to-the-edge crop. It matches the aspect ratio the platform wants, so nothing important gets cropped in the preview. It is rendered at double resolution so it stays crisp when the timeline scales it. And it carries none of the clutter that comes free with an editor screenshot: no tab bar, no minimap, no Slack badge in the corner.
Hit those and your snippet looks like it belongs to a publication rather than a debugging session. The three approaches below all get you there. Pick by how much control you want and whether you need to automate.
The fastest route: the browser tool
For a one-off, you do not need code at all. The code screenshot generator is a browser tool: paste your snippet, choose the language, pick a theme and background and download the PNG. It runs the same renderer the API does, so what you see is what you ship.
This is the right tool when you are writing a single post and want it done in under a minute. It stops being the right tool the moment you want the same look across twenty snippets, or you want to generate an image automatically when you publish. For that, you want the API.
Generating code screenshots from the API
The code screenshot template takes a JSON payload and returns a hosted PNG. You send the code and a few style options, and you get back a CDN URL. No browser to drive, no headless Chrome to keep alive, no fonts to install on a server.
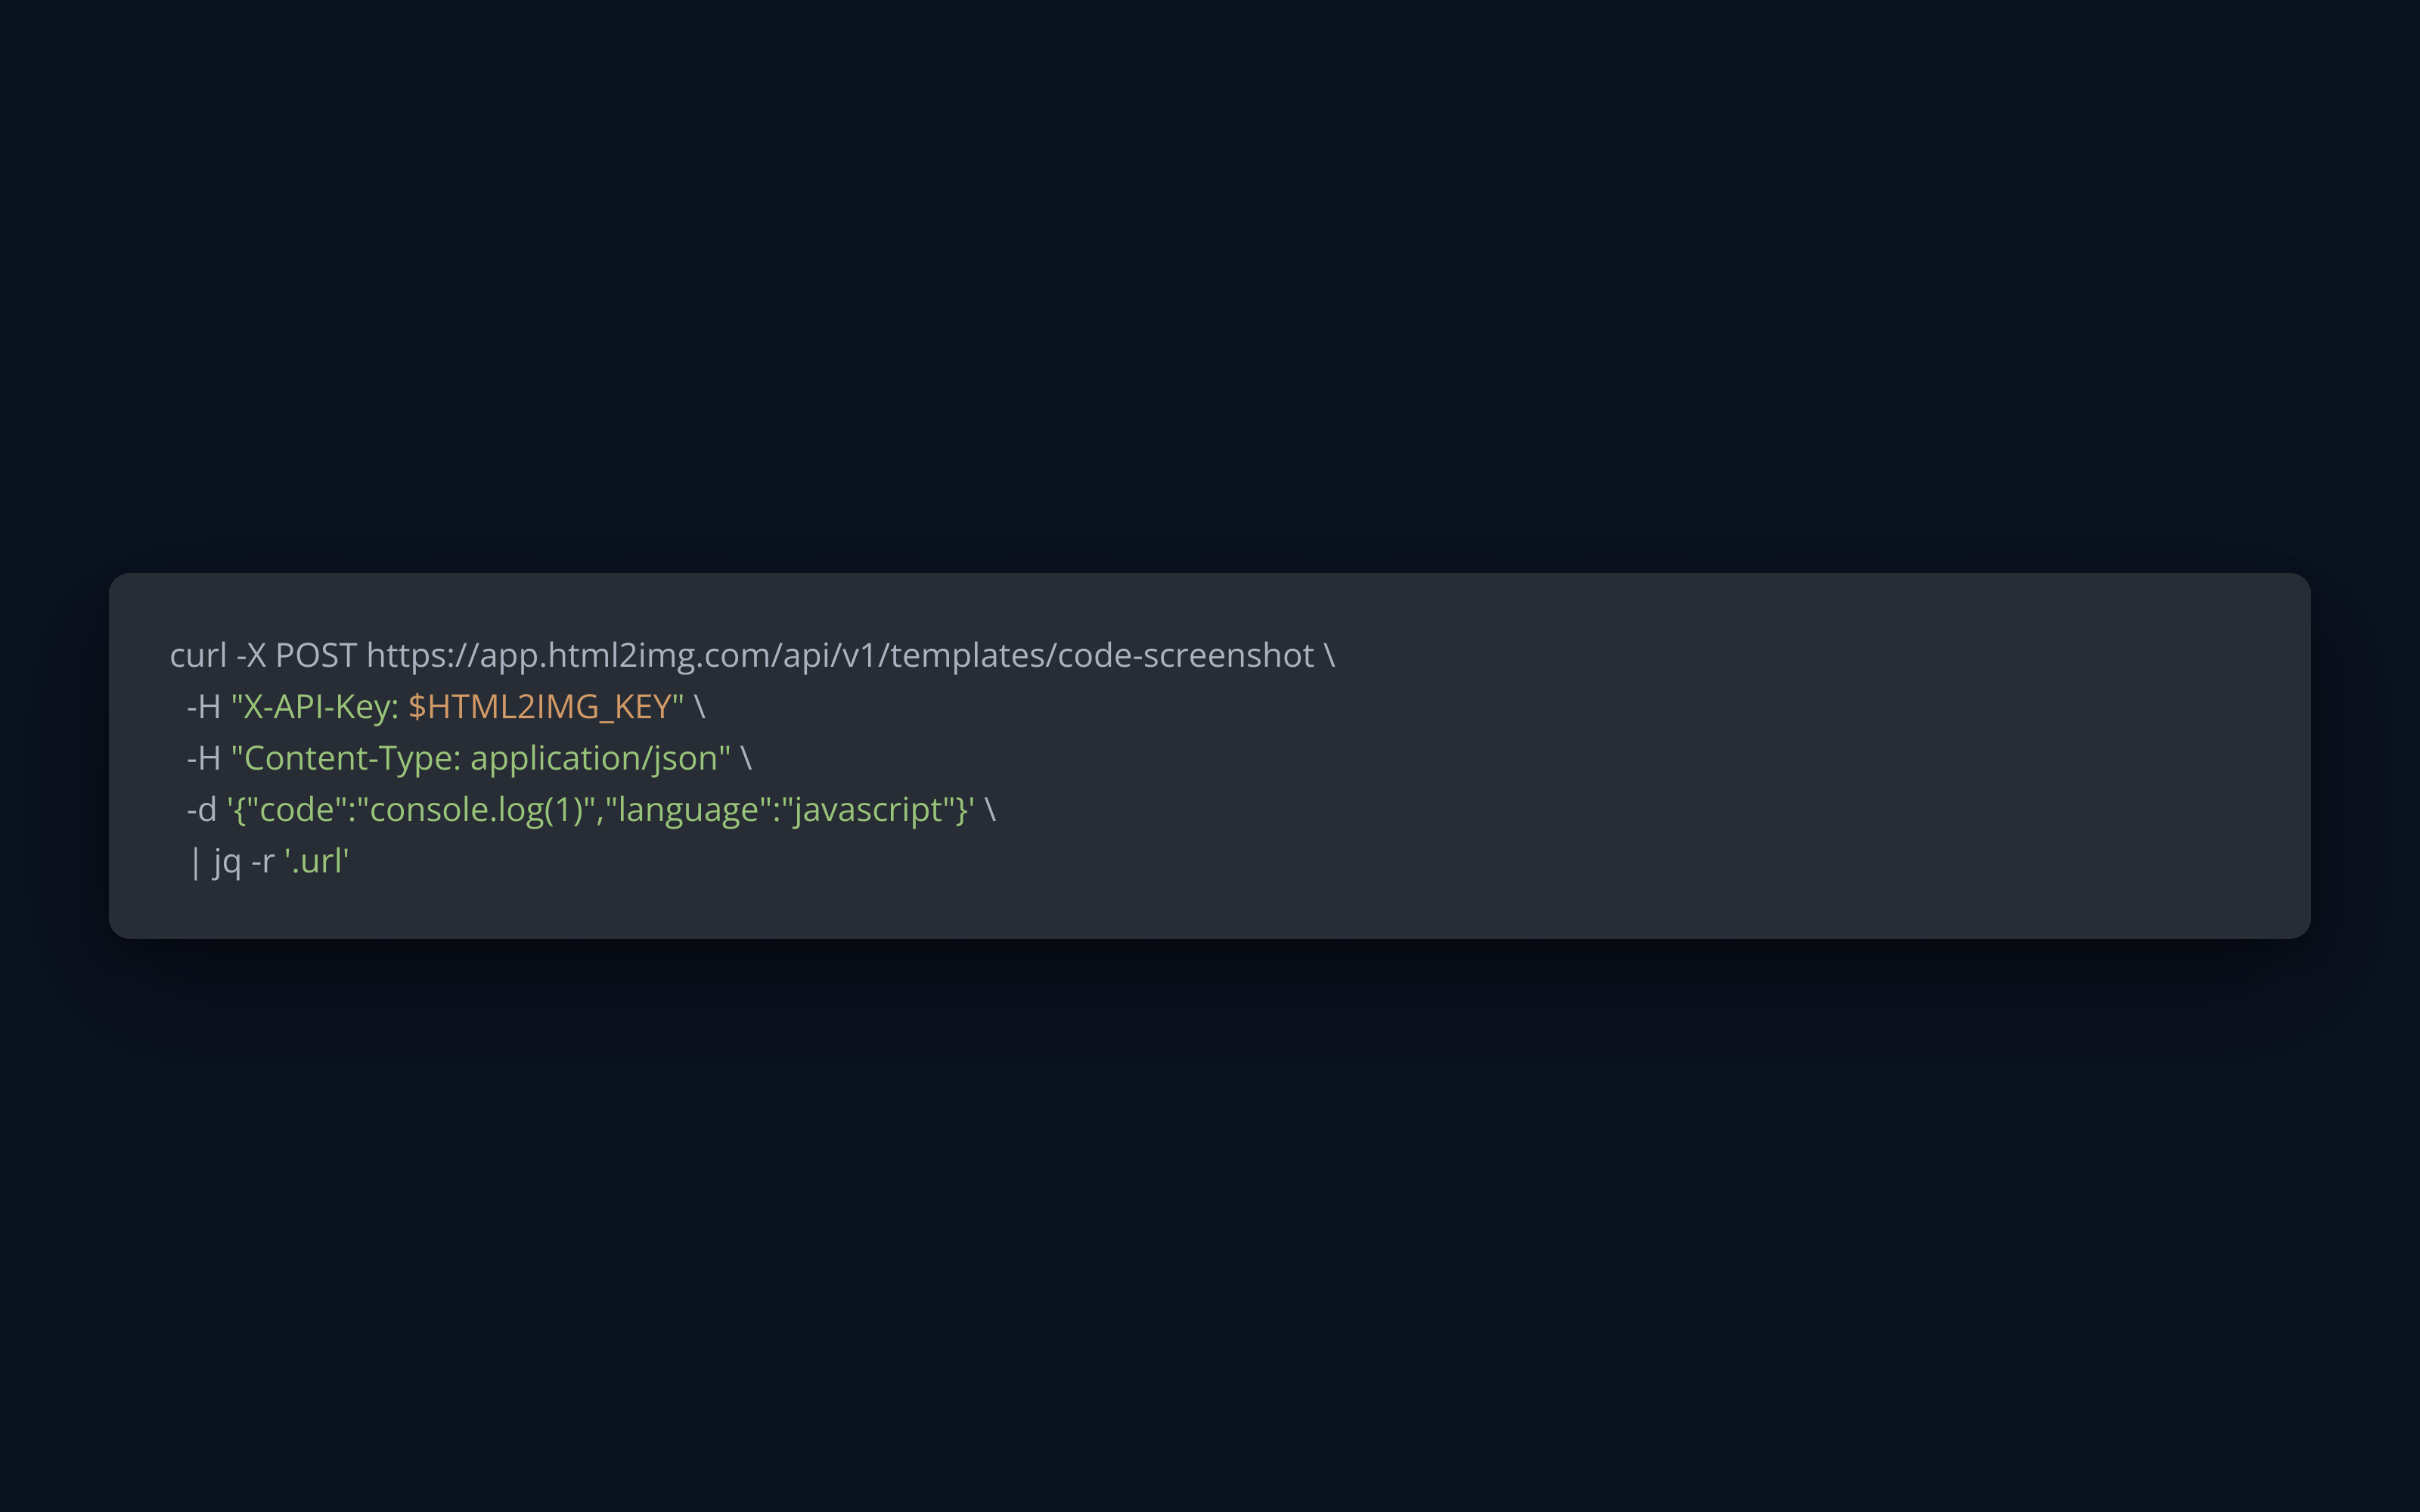
The endpoint is a single POST. Authentication is an X-API-Key header, which you can issue and rotate from your dashboard (see the authentication docs). Here is the smallest request that does something useful:
curl -X POST https://app.html2img.com/api/v1/templates/code-screenshot \
  -H "X-API-Key: $HTML2IMG_KEY" \
  -H "Content-Type: application/json" \
  -d '{
    "code": "const sum = (a, b) => a + b;",
    "language": "javascript"
  }'
The response tells you where the image lives:
{
  "success": true,
  "id": "abc123",
  "url": "https://i.html2img.com/abc123.png",
  "credits_remaining": 1234,
  "template": "code-screenshot"
}
That url is the finished image. Drop it straight into an og:image tag, a tweet or a Markdown file. The one call below produces this:
The inputs
Only code is required. Everything else shapes the look.
Input | Type | Description |
|---|---|---|
| string | The source to render. Required. Newlines as |
| string | Language for syntax highlighting, e.g. |
| string | Text in the window title bar, usually a filename like |
| string | A highlighting theme, e.g. |
| string | Any CSS background: a solid colour or a gradient behind the window. |
| number | Space in pixels between the window and the edge of the image. |
|
| Toggle the macOS traffic-light title bar. |
|
| Toggle the line-number gutter. |
The image renders at 1600×1000 by default, which is a 16:10 frame that downscales cleanly to the preview sizes the social platforms use.
The same call in your language
The pattern is identical everywhere: POST JSON with the key in the header, read url off the response. A few of the common runtimes follow. The full set, including Laravel, Rails, React and Vue, is in the usage guides.
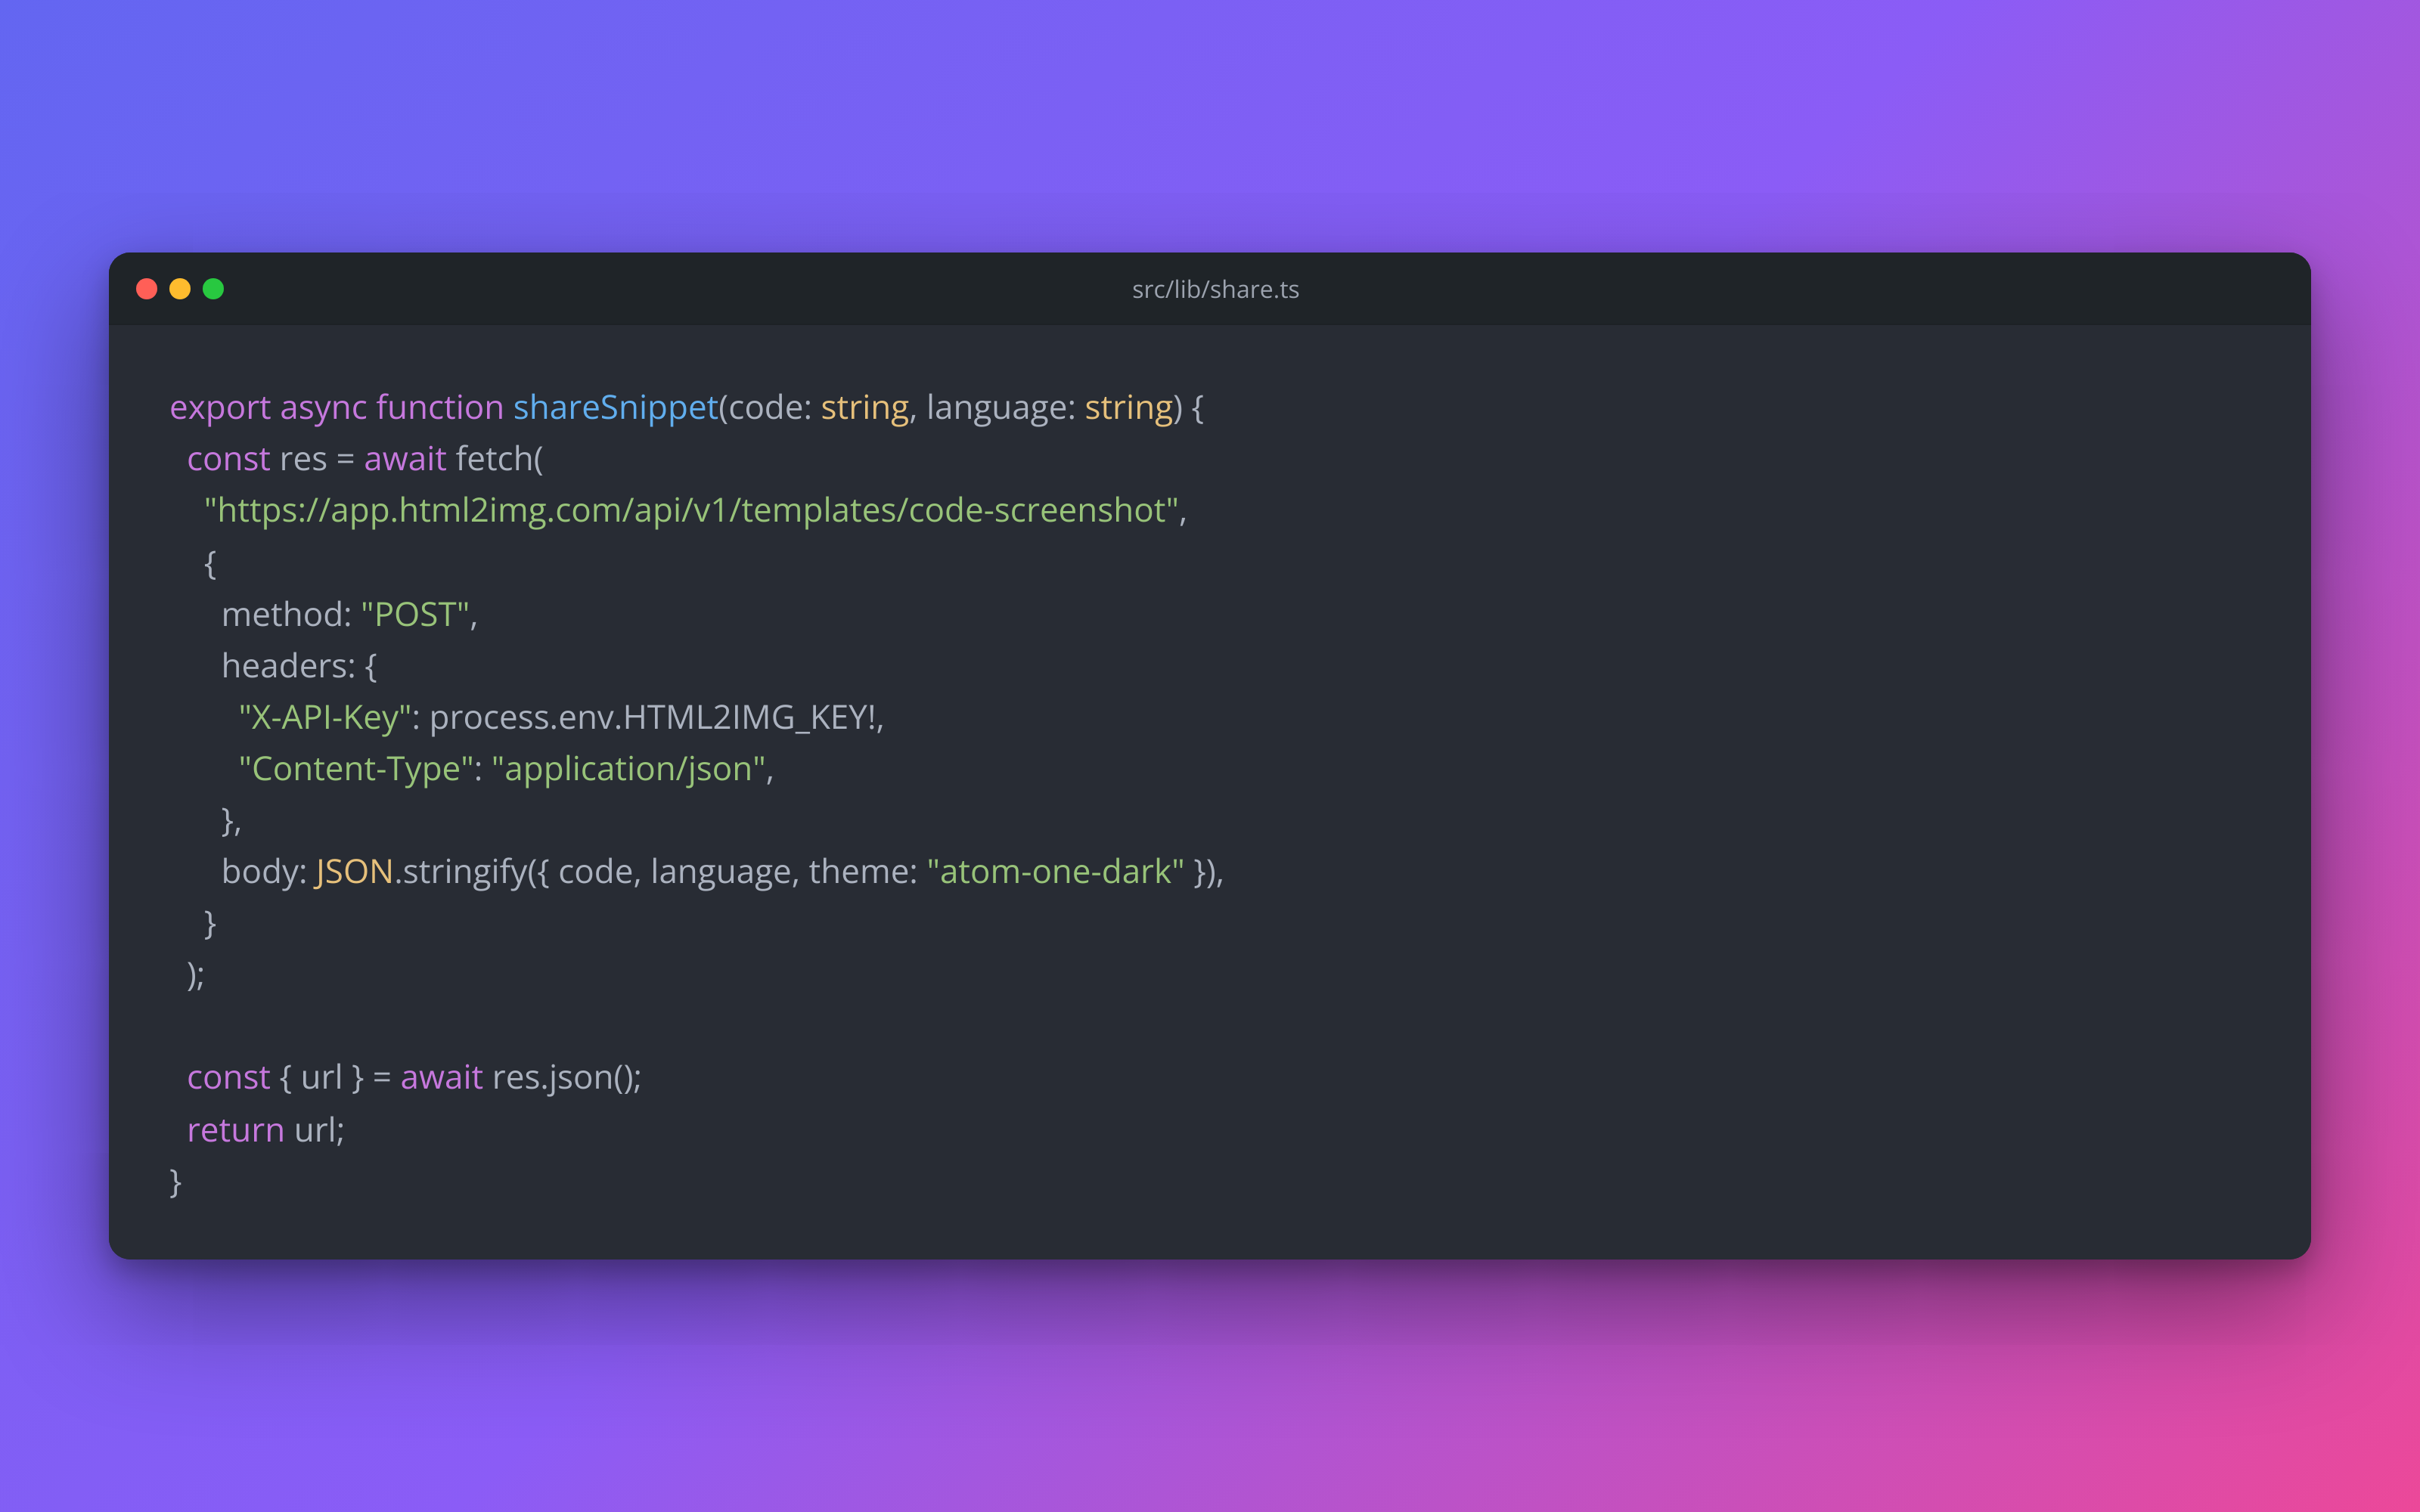
Node, with the native fetch:
const res = await fetch("https://app.html2img.com/api/v1/templates/code-screenshot", {
method: "POST",
headers: {
"X-API-Key": process.env.HTML2IMG_KEY,
"Content-Type": "application/json",
},
body: JSON.stringify({
code: "export const sum = (a, b) => a + b;",
language: "typescript",
title: "src/lib/maths.ts",
theme: "atom-one-dark",
}),
});
const { url } = await res.json();
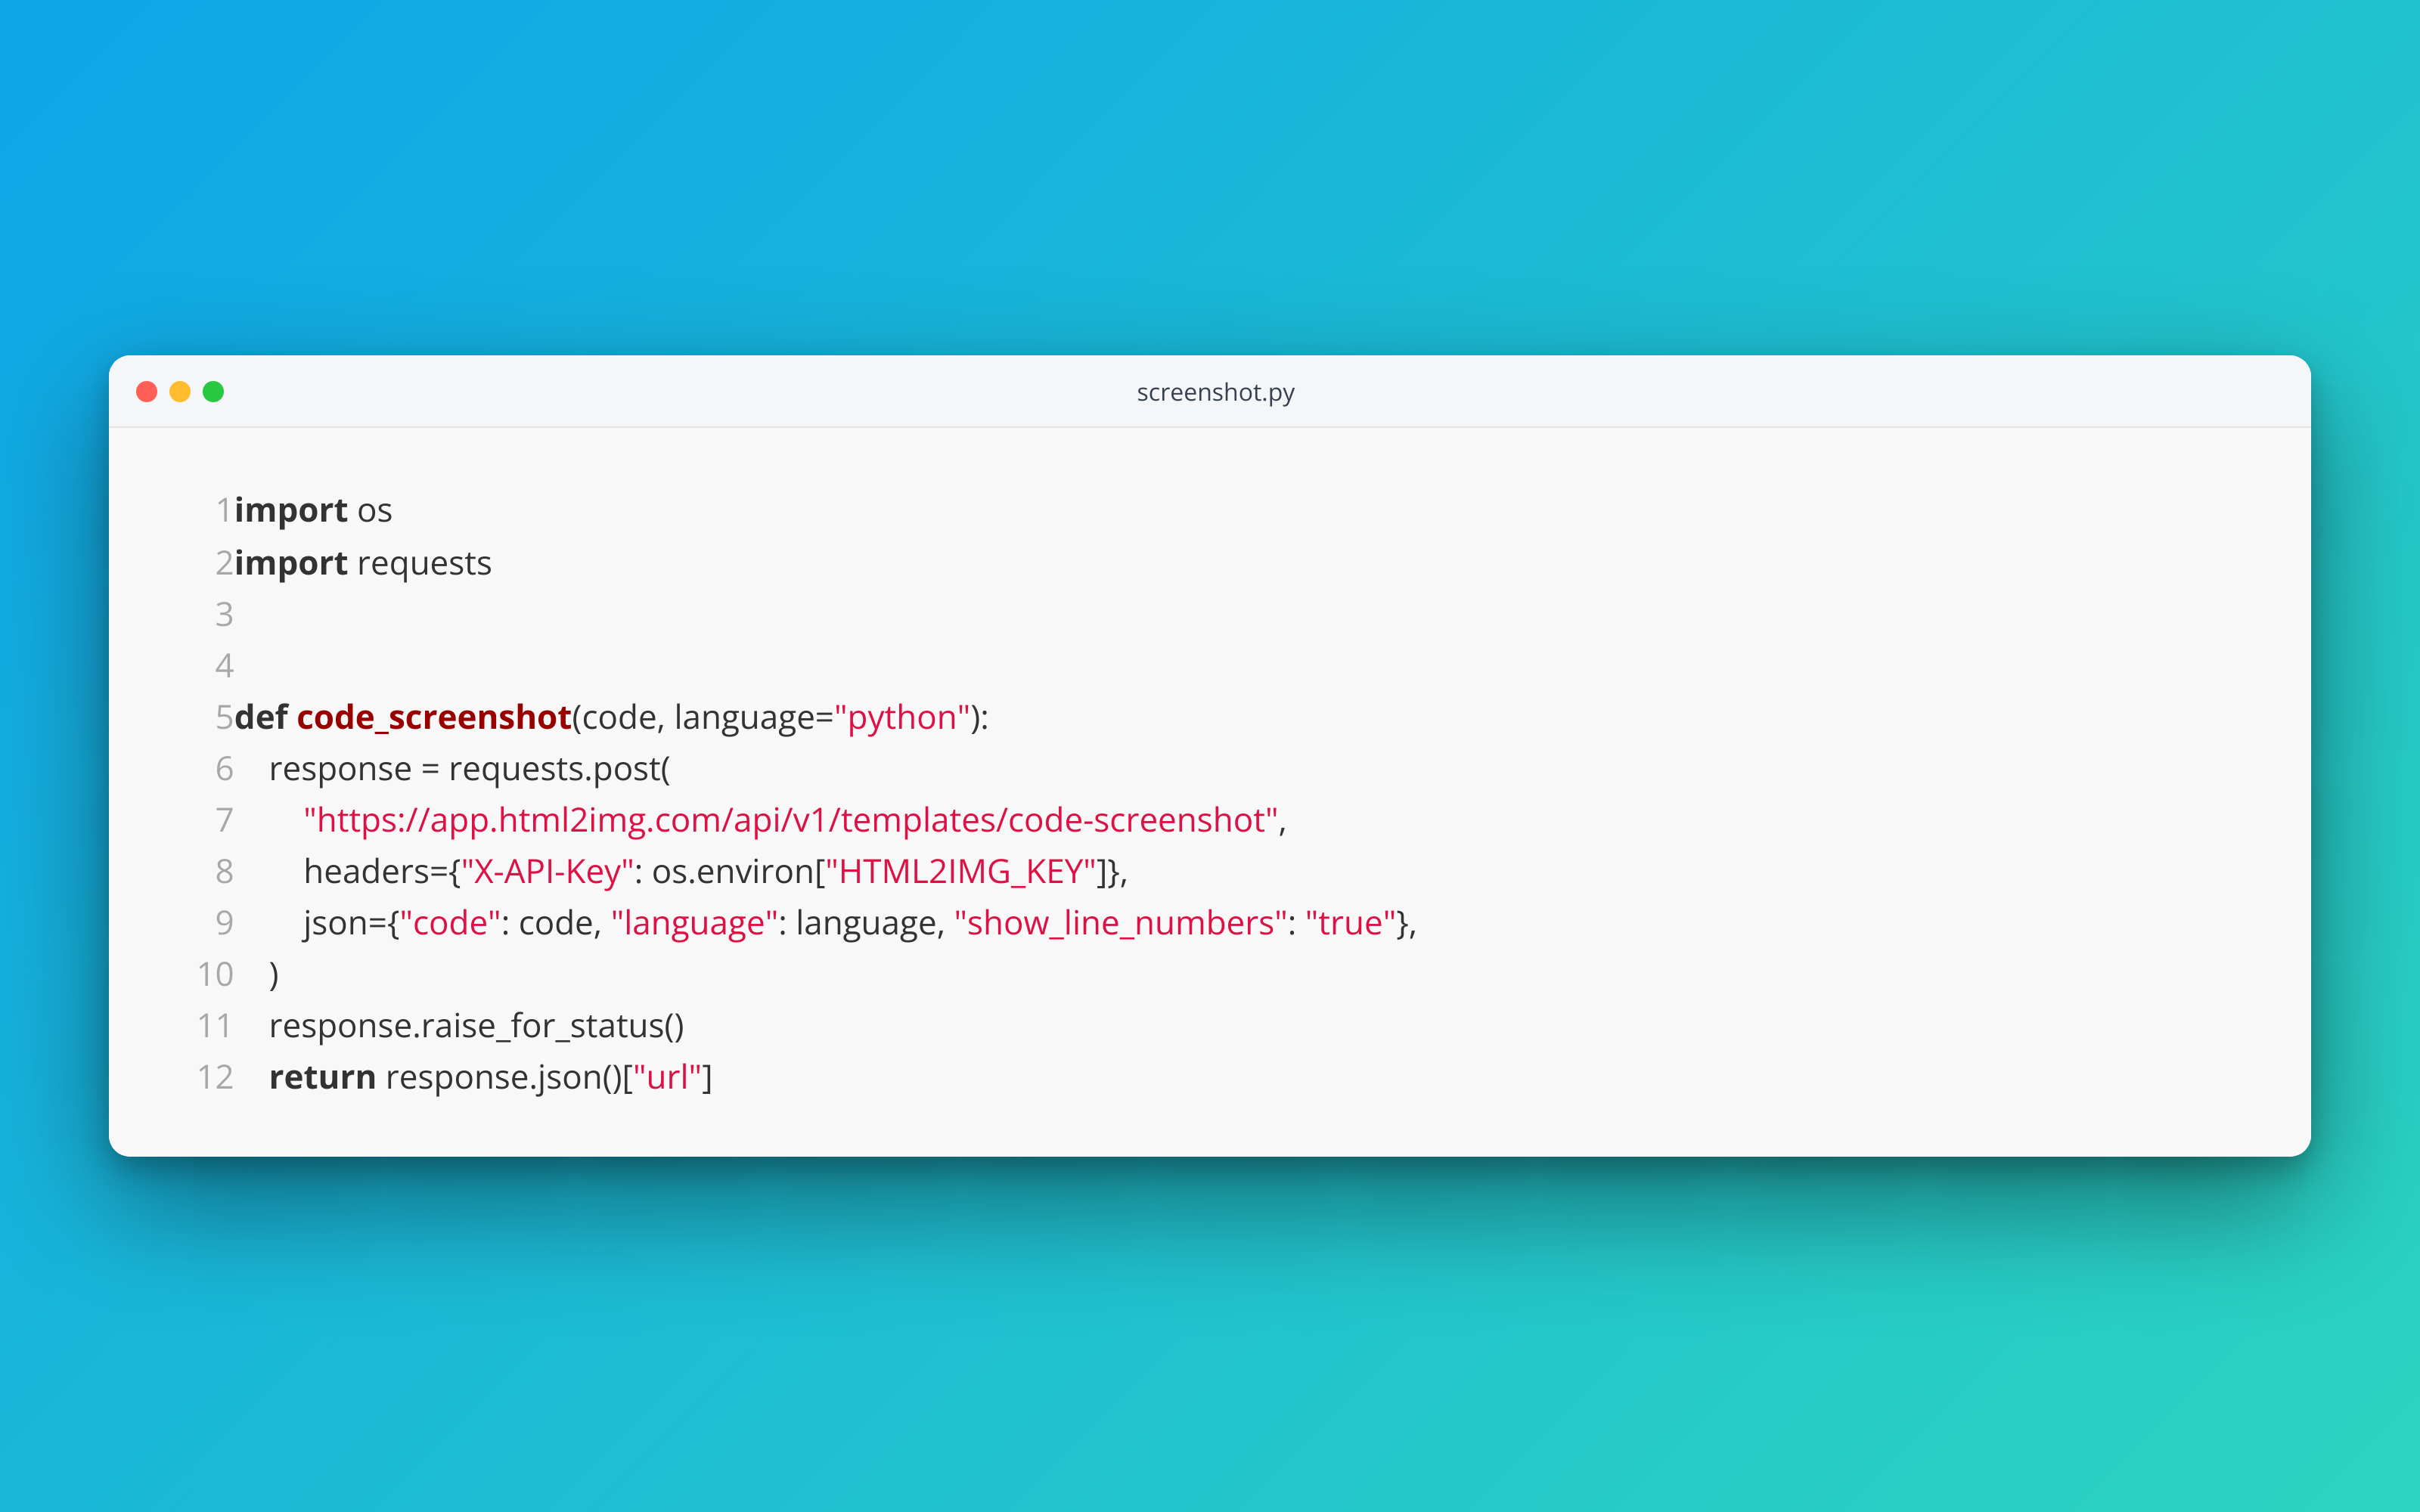
console.log(url);Python, with requests:
import os
import requests

resp = requests.post(
    "https://app.html2img.com/api/v1/templates/code-screenshot",
    headers={"X-API-Key": os.environ["HTML2IMG_KEY"]},
    json={
        "code": "def sum(a, b):\n    return a + b",
        "language": "python",
        "title": "maths.py",
        "theme": "atom-one-dark",
    },
)
resp.raise_for_status()
print(resp.json()["url"])
PHP, using Laravel's HTTP client:
use Illuminate\Support\Facades\Http;

$response = Http::withHeaders([
    'X-API-Key' => config('services.html2img.key'),
])->post('https://app.html2img.com/api/v1/templates/code-screenshot', [
    'code' => "public function sum(int \$a, int \$b): int\n{\n    return \$a + \$b;\n}",
    'language' => 'php',
    'title' => 'app/Support/Maths.php',
    'theme' => 'atom-one-dark',
]);

$url = $response->json('url');
Theming the screenshot to match your brand
The defaults are tasteful, but a code image that carries your colours is the one people start to recognise as yours. Four inputs do the work: theme, background, show_window_chrome and show_line_numbers.
The theme controls the syntax colours inside the window. Dark themes like atom-one-dark and dracula read well on most feeds. A light theme suits a clean, editorial look and pairs nicely with line numbers turned on for tutorial content:
The background sits behind the window and accepts any CSS value. A solid colour keeps things calm; a gradient gives the image some energy in a busy timeline. Match it to your site or your brand palette so a string of posts hangs together:
{
  "code": "type Status = \"idle\" | \"loading\" | \"done\";",
  "language": "typescript",
  "title": "types.ts",
  "theme": "dracula",
  "background": "linear-gradient(135deg, #22D3EE 0%, #6366F1 100%)",
  "show_line_numbers": "true"
}
When you want the code to be the whole story, turn the chrome off, drop the padding and set a flat background. The result is minimal and works well for short snippets where the window frame would only add noise:
A few choices that tend to hold up: keep snippets short, because a screenshot is for the highlight, not the whole file. Set the title to a real path so the image carries context. Pick one theme and one background and reuse them, so your posts read as a set rather than a grab bag.
Sizing for each platform
The template renders at 1600×1000, and that single frame covers most of what you need because the platforms downscale it.
Twitter and X show link previews and inline images at roughly 2:1 or 16:9, and a 16:10 source crops gracefully into both. LinkedIn favours something close to 1.91:1 for shared links, again well served by the default. For a dev.to cover image the platform wants 1000×420, so a wide code image reads fine as the banner with the snippet centred. Instagram is the awkward one, since it prefers square or 4:5, so for a feed post you are usually better building a square card with the raw HTML route below.
The default also renders at a resolution that stays sharp when a retina display scales it down, which is the single biggest reason an editor screenshot looks soft on a phone. If you need to push dimensions or device pixel ratio beyond what the template exposes, that is the cue to drop down a level, which is the next section. The DPI parameter docs cover the detail.
Automating it: generate screenshots in your build
The real payoff is not making one image, it is never thinking about it again. Because the whole thing is one HTTP call, you can wire it into a script or a CI step.
Here is a small Node script that turns any source file into a screenshot. Point it at a file and it prints the URL:
import { readFileSync } from "node:fs";

const path = process.argv[2];
const code = readFileSync(path, "utf8");

const res = await fetch("https://app.html2img.com/api/v1/templates/code-screenshot", {
  method: "POST",
  headers: {
    "X-API-Key": process.env.HTML2IMG_KEY,
    "Content-Type": "application/json",
  },
  body: JSON.stringify({
    code,
    language: "typescript",
    title: path,
    theme: "atom-one-dark",
    background: "linear-gradient(135deg, #6366F1 0%, #EC4899 100%)",
  }),
});

const { url } = await res.json();
console.log(url);
Run it with node screenshot.js src/index.ts and you have a branded image of that file in one step.
The same idea fits a release pipeline. This GitHub Actions job renders a snippet whenever you publish a release, ready to attach to the announcement:
name: Share snippet
on:
  release:
    types: [published]

jobs:
  screenshot:
    runs-on: ubuntu-latest
    steps:
      - uses: actions/checkout@v4
      - name: Render the highlight
        env:
          HTML2IMG_KEY: ${{ secrets.HTML2IMG_KEY }}
        run: |
          curl -sX POST https://app.html2img.com/api/v1/templates/code-screenshot \
            -H "X-API-Key: $HTML2IMG_KEY" \
            -H "Content-Type: application/json" \
            -d @snippet.json \
            | jq -r '.url'
Because there is no browser in this loop, the job stays fast and cheap, and it will not fall over the way a headless Chrome step does when a font is missing or memory runs short. If you have ever fought that setup, the Puppeteer and Lambda alternative write-up covers why moving the rendering off your own infrastructure is usually the better trade.
When you need full control: render your own HTML
The template is deliberately opinionated. When you want something it does not offer, a custom font, a watermark, a two-up diff, your logo in the corner or a square Instagram card, you render your own HTML instead and post it to the HTML endpoint. You design the card once in HTML and CSS, and the API turns it into a PNG at whatever dimensions and DPI you ask for.
A minimal code card looks like this:
<div class="window">
  <div class="bar">
    <span class="dot red"></span>
    <span class="dot amber"></span>
    <span class="dot green"></span>
    <span class="file">greeting.go</span>
  </div>
  <pre><code>func Greet(name string) string {
    return fmt.Sprintf("Hello, %s", name)
}</code></pre>
</div>
Style it with your own fonts and colours, then send it off, setting dpi to 2 for a retina-sharp result and the dimensions to whatever the platform wants:
curl -X POST https://app.html2img.com/api/html \
  -H "X-API-Key: $HTML2IMG_KEY" \
  -H "Content-Type: application/json" \
  -d '{
    "html": "<div class=\"window\">...</div>",
    "width": 1080,
    "height": 1080,
    "dpi": 2
  }'
The trade is that syntax highlighting is now your job: you either ship pre-highlighted markup or inline a highlighter in the page. You also get total command of the design in return, which is exactly what you want for a square card or a branded template you reuse. If you would rather see the bare mechanics first, the screenshot with cURL guide walks the HTML endpoint from scratch. And if what you are really after is a repo card rather than a loose snippet, the GitHub social preview template renders one from JSON the same way the code template does.
Which one to reach for
Use the browser tool for a one-off you want done now. Use the code screenshot template when you want consistent, branded images and especially when you want to generate them from a script or on publish. Drop to raw HTML when the design needs to be exactly yours. All three lean on the same renderer, so you can start with the tool and graduate to the API without your images changing character.
Need code screenshots, OG images, certificates or invoices rendered from HTML without running a browser yourself? Browse the templates gallery or read the docs to get started.